How to Remove Overgrown Hydrangea Bushes Safely
Hydrangea too big for your garden? Learn how to safely remove overgrown hydrangea bushes, avoid common DIY mistakes, and know when it’s smarter to call a pro.
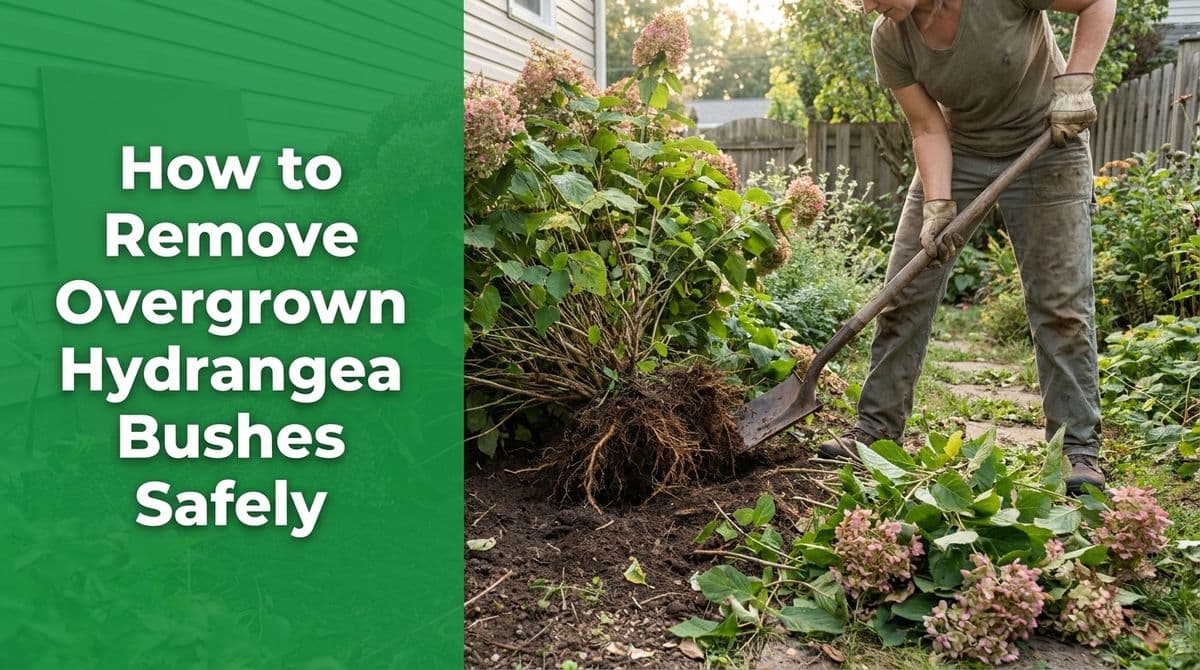
How to Remove Overgrown Hydrangea Bushes Safely
We recently got a call from a homeowner — let’s call her Linda — who had two hydrangea bushes that had “gotten bigger than I wanted them to get.” She told me she’d already gone out that morning, cut all the tops off one of them, and then realized, in her words, “that’s when the real job started.”
If you’ve ever tried to dig out a mature shrub, you know exactly what she meant. The leafy part comes off easily, but those roots hang on for dear life. Even though we usually focus on larger projects, we see this situation all the time, so I walked Linda through what’s involved and when it makes sense to call in a pro.
If you’re staring at an overgrown hydrangea and wondering what you’ve gotten yourself into, this guide is for you.
Why Mature Hydrangeas Are So Hard to Dig Out
From the surface, hydrangeas can look soft and manageable. Underground, it’s a different story. Over a few years, those pretty shrubs develop a dense, woody root system that fans out in all directions.
Here’s why they’re tougher than they look:
- Wide root spread: Hydrangea roots usually extend beyond the drip line (the outer edge of the branches). Cutting close to the stem barely scratches the surface.
- Fibrous + woody roots: You’ve got a mix of fine feeder roots and thicker, almost tree-like roots that can be surprisingly strong.
- Compacted soil: In older beds, soil gets compacted, making digging and prying much harder than it looks with just a shovel.
- Previous pruning: Years of cutting back the top can actually make the crown denser and more stubborn to remove.
So when Linda said, “I cut all the top off, but then the real job started,” she’d run into the same thing most DIYers do: getting the shrub above ground off is the easy part. It’s the stuff you can’t see that does the fighting.
Tools You’ll Want Before You Start Digging
If you decide to tackle hydrangea removal yourself, having the right tools makes all the difference. Here’s what we typically bring to a job like Linda’s:
- Spade shovel (with a sharp edge) for cutting through roots and soil.
- Hand pruning saw or reciprocating saw for thicker roots and the main crown.
- Bypass loppers for medium-sized branches and roots.
- Digging bar or pry bar to pop the root ball loose.
- Heavy-duty gloves and eye protection for safety.
- Tarp to collect debris and keep your lawn or patio clean.
You don’t need every pro-grade tool in the book, but showing up with only a small hand trowel and a lot of optimism is how most “simple” shrub projects turn into all-day battles.
Step-by-Step: How to Remove a Hydrangea Bush
1. Don’t Just Cut It to the Ground and Walk Away
Linda did what many homeowners do first: cut all the top growth off. That can make the plant easier to handle, but if you stop there, the roots will just resprout and you’ll be dealing with the same problem again.
If you want it gone, you need to remove (or at least severely disrupt) the root system.
2. Expose the Root Crown
Start by pulling back mulch and debris around the base so you can clearly see where the main stems meet the soil. Use your shovel to scrape away a few inches of soil until you see the top of the main roots.
This is the “crown” of the plant, and it’s what you’re ultimately trying to remove.
3. Dig a Trench Around the Plant
Next, dig a ring around the hydrangea about 8–12 inches away from the main stems. Go as deep as you reasonably can — usually 8–12 inches for most landscape hydrangeas.
As you dig, you’ll hit roots. Cut them cleanly with your shovel, loppers, or pruning saw rather than just trying to rip them. Clean cuts are easier to manage and make it simpler to free the root ball.
4. Loosen and Pry the Root Ball
Once you’ve cut a good number of the outer roots, start using your shovel or pry bar under the base of the plant. Rock it back and forth, cutting any remaining roots you can see.
For multi-stem hydrangeas, you may find it easier to split the crown into sections with a saw and remove it in pieces, especially if it’s very old or large.
5. Clean Up Remaining Roots
After the main crown is out, you’ll likely see smaller roots still in the soil. You don’t have to chase every hair-thin root, but try to remove:
- Any large woody roots near the surface
- Roots that are directly in the area where you plan to replant
Rake the area smooth and backfill with soil if you’ve created a deep hole.
Common DIY Mistakes (and How to Avoid Them)
Calls like Linda’s often come after a project has already gone sideways. These are the most common missteps we see:
- Only cutting the top off: The plant looks “gone” for a few weeks, then comes back with a vengeance. If you don’t remove or thoroughly damage the crown and main roots, expect regrowth.
- Underestimating root spread: Digging too close to the stem means fighting a solid stump instead of a loosened root ball. Give yourself that 8–12 inch ring.
- Using the wrong tools: A dull shovel and small hand pruners turn a one-hour job into an all-day event.
- Overexerting: Hydrangea removal can be physically demanding. Lifting a wet, heavy root ball wrong is a common way to tweak a back or shoulder.
How to Dispose of Hydrangea Roots and Debris
Once the plant is out, you still have to get rid of it. Here’s how we typically handle disposal and what you can do at home:
- Green waste pickup: Many cities will take branches and roots if they’re cut to a certain length and bundled. Check your local guidelines.
- Yard waste bins: Chop stems and roots into smaller pieces so they fit neatly in your cart.
- On-site composting: Stems and leaves can go in a compost pile, but thick woody roots decompose very slowly. Most homeowners prefer to haul those away.
- Haul-off service: If you don’t have green waste service, a local landscaper or junk removal company can usually take debris for you.
We always lay out a tarp before we start digging, then drag the whole mess to the truck when we’re done. You can do the same to keep soil and debris off your lawn or driveway.
When to Call a Pro Instead of DIY
During our call with Linda, we talked honestly about whether it made sense for her to keep fighting with the shrubs or have us come out. Hydrangea removal can be a DIY job, but it’s not always the best choice.
Consider hiring a professional landscaper or lawn service if:
- The shrubs are very large or very old. Bigger crown = heavier lifting and more stubborn roots.
- They’re planted near utilities, fences, or hardscape. You don’t want to damage irrigation lines, edging, or siding.
- You have limited mobility or back/shoulder issues. The work involves digging, prying, and lifting awkward weight.
- You don’t have the right tools. Buying everything you need for one project can cost more than hiring it out.
- You’re on a tight schedule. A pro crew might knock out in an hour what takes a weekend of DIY effort.
If you’re unsure, do what Linda did: take a few clear photos of the shrubs and the surrounding area and send them to a local landscaping company. We can usually give you a rough idea of the scope, cost, and whether it’s realistic as a DIY project just from those pictures.
Whether you decide to tackle your hydrangeas yourself or have us handle the heavy lifting, going in with a plan — and a healthy respect for those roots — will save you a lot of frustration once “the real job” starts.